13.4 Creating a customizable form
The previous example (see section 13.3, Obtaining an authorization code) used a simple visible HTML form to request an authorization code. For the remaining examples, we are going to need to be able to change parts of the request form dynamically, so before progressing any further, we will use a script to create the form rather than using simple HTML.
This example is functionally identical to the previous example.
Remove the index.html from the previous example, and create a new HTML document called index.html.
<html>
<head>
<title>Single-page PKCE client authentication through Javascript</title>
</head>
<body>
<div id="intro">
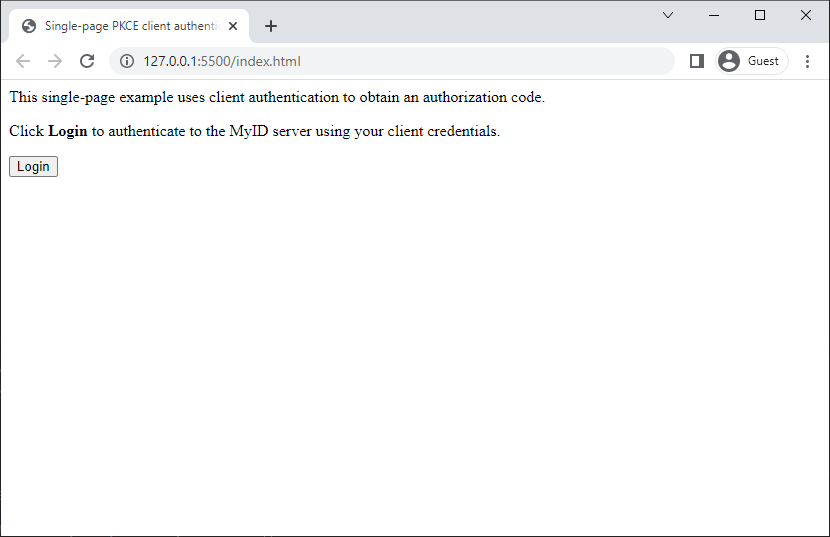
<p>This single-page example uses client authentication to obtain an authorization code.</p>
</div>
</body>
</html>After the intro div, add a div for the form:
<div id="login">
    <p>Click <b>Login</b> to authenticate to the MyID server using
    your client credentials.</p>
</div>
For now, the login div contains placeholder text. We will add the form using a script later in this example.
After the login div, add a <script> block and include the constants that we will use to build the form.
<script>
    // Address of the MyID server
    const server = "https://myserver";
    // Name of the client ID you have set up in the web.oauth2 appsettings file
    const client_id = "myid.mywebsite";
    // Scope configured for the client
    const scope = "myid.rest.basic";
    // The URL for this page - this must match a value for RedirectUris
    // in the web.oauth2 appsettings file.
    const redirect_uri = "http://127.0.0.1:5500/";
    // MyID oauth2 authorization URL
    const authorize_url = "/web.oauth2/connect/authorize";
    // Code challenge
    const code_challenge = "lzKaVv4bWu06z_m0yFynJj6zttnU5gYpXah8tLYKzGg";
</script>
These are the same values you included in the <form> in the previous example.
Important: Remember to change myserver to the address of your own MyID server.
Within the <script> block, add a script that checks for a returned authorization code, displays the code if it is available, and if not, creates the form:
// Get the authorization code from the URL parameters.
const queryString = window.location.search;
const urlParams = new URLSearchParams(queryString);
const code = urlParams.get('code');

// If the code is available, display it instead of the login form
if (code) {
    document.getElementById("login").innerHTML="<p>The authorization code is: " + code + "</p>";
}
else {
    // Create the form
    createForm();
}
Now you need to add the function that creates the form within the <script> block. This is functionally identical to the form that you created using HTML in the first example, but instead of displaying all the parameters, it hides everything except the Login button.
function createForm() {
    // Create the form
    var form = document.createElement("form");
    form.setAttribute("method", "post");
    form.setAttribute("enctype", "application/x-www-form-urlencoded");
    form.setAttribute("action", server + authorize_url);

    // Create the hidden fields
    var client_id_element = createFormField("hidden", "client_id", client_id);
    var scope_element = createFormField("hidden", "scope", scope);
    var redirect_uri_element = createFormField("hidden", "redirect_uri", redirect_uri);
    var response_type_element = createFormField("hidden", "response_type", "code");
    var code_challenge_element = createFormField("hidden", "code_challenge", code_challenge);
    var code_challenge_method_element = createFormField("hidden", "code_challenge_method", "S256");

    // Create a Login button
    var submit_button = document.createElement("input");
    submit_button.setAttribute("type", "submit");
    submit_button.setAttribute("value", "Login");

    // Append the fields to the form
    form.appendChild(client_id_element);
    form.appendChild(scope_element);
    form.appendChild(redirect_uri_element);
    form.appendChild(response_type_element);
    form.appendChild(code_challenge_element);
    form.appendChild(code_challenge_method_element);

    // Append the Login button to the form
    form.appendChild(submit_button);

    // Add the form to the login div
    document.getElementById("login").appendChild(form);
}

function createFormField(type, name, value) {
    var formFieldElement = document.createElement("input");
    formFieldElement.setAttribute("type", type);
    formFieldElement.setAttribute("name", name);
    formFieldElement.setAttribute("value", value);
    return formFieldElement;
}
You can now open this HTML page on your local web server.
Try it out. It works in the same way as the previous example: you click Login, then it takes you to the MyID Authentication web page. Once you've authenticated, the page displays the authorization code.